


The Top 3 Window Shutter Paint Colors To Pick In 2021 (And Beyond)
August 13, 2021
Can Gutters Be Painted?
October 14, 2021The Top 3 Window Shutter Paint Colors To Pick In 2021 (And Beyond)
August 13, 2021Can Gutters Be Painted?
October 14, 2021
Ceiling painting is an effective and affordable way to spruce up a room and add value to your home. A fresh coat of ceiling paint can give a room an updated look. It can even make a room feel larger or smaller, depending on the shade.
You may think you’re an experienced painter if you’ve painted a wall or two before. But there are some important differences between how to paint a ceiling and how to paint a wall.
That’s why you’ll want to check out these tips from professional painters. They will help you avoid mistakes and frustration when painting your first ceiling.

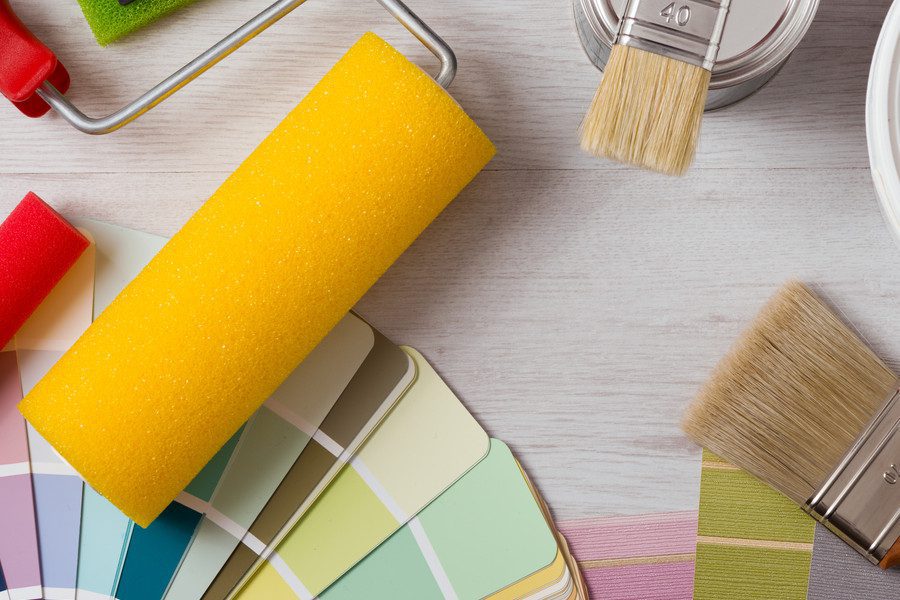
Choosing Your Paint
It may surprise you, but ceiling paint is not the same as wall paint. The best ceiling paint has added thickness and stickiness so it isn’t as likely to drip all over the place.
The most popular type of ceiling paint is flat or matte white. People like flat and matte paints for ceilings because they hide imperfections better than other paints. Satin and gloss finishes tend to highlight flaws.
White shades of paint can also reflect more light, so they increase the brightness in a room. They also make rooms seem larger than they actually are.
That being said, don’t be afraid of color! A pop of color on your ceiling can add style and pizazz to a room and give it a completely fresh ambiance.
Materials You’ll Need
Professional painters recommend using a rubber-backed canvas drop cloth to protect the floor beneath the ceiling you wish to paint.
Other necessary materials include:
- Primer
- Paint tray (and paint tray liner)
- Angled paint brush for edging
- Plastic sheeting
- Painter’s tape (2 inches thick)
- Extension pole for paint roller
- Paint stirring stick
- Spackle
- Fine-grit sandpaper
- Medium-grit sandpaper
- Vacuum
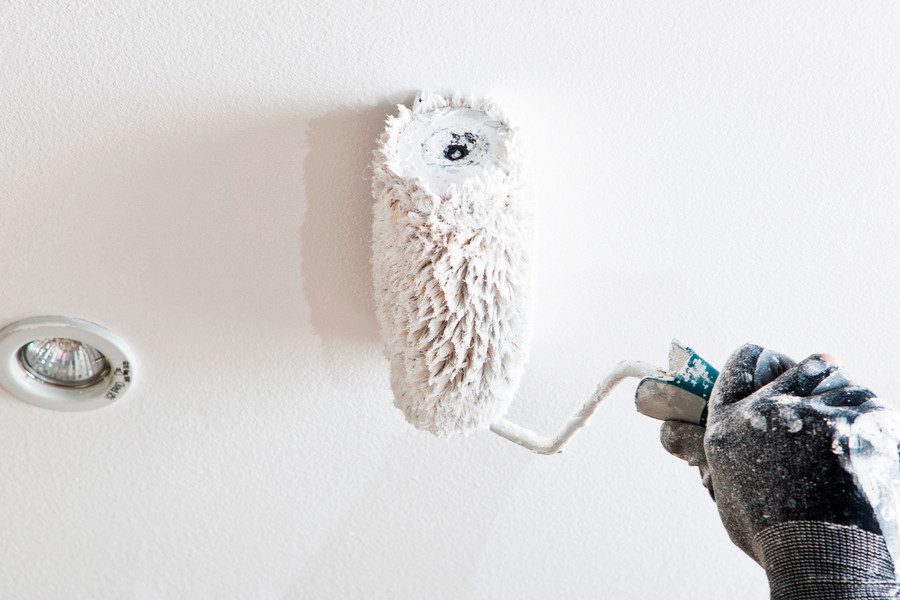
If you’re painting a smooth ceiling, you’ll want to use a low nap roller. For textured ceilings, it is best to use a roller with either a 1/2 inch nap or a 3/4 inch nap.
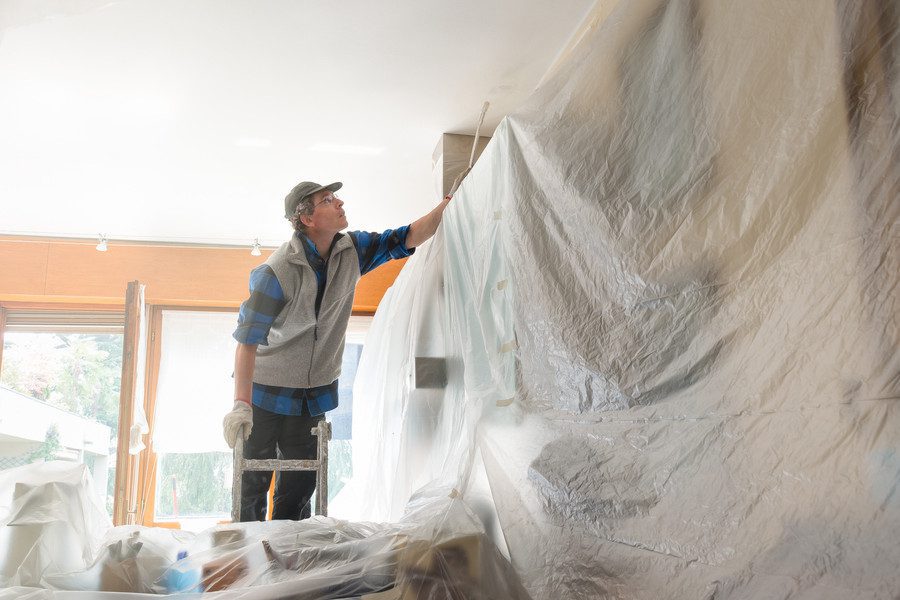
Prepping Your Painting Area
Begin by removing any large furniture or other obstacles as possible from the room. Lay down your rubber-backed canvas drop cloth on the floor. Ideally, it should cover the entire floor of the room.
If there is furniture left in the room, cover it with plastic sheeting.
Thinking of painting your walls eventually as well? The best course of action is to paint your ceiling before you paint your walls. It is very easy to drip or splatter ceiling paint and you won’t want it marring your freshly painted walls.
If you’ve already painted your walls, or don’t plan to paint them, it’s worth hanging plastic sheeting over the walls as well. You’ll also want to cover your windows and doors with plastic sheeting.
If you have any light fixtures, fans, or smoke detectors on your ceiling, you will need to remove those before painting. Remember to turn off the power in the room before removing any electrical fixtures.
Prepping Your Ceiling
You want a clean ceiling when you’re prepping to paint. Remove dust and cobwebs.
If you notice any cracks or holes, apply spackle to them. Keep in mind it takes spackle about two hours to dry before you can paint over it.
Sand over any rough spots on your ceiling with medium-grit sandpaper, then finish it with fine grit. Vacuum the area after sanding to remove sawdust.
If you are only painting the ceiling, tape off the seams between the walls and ceiling. You should use 2-inch painter’s tape for best results. One-inch tape won’t protect your walls from the thickness of your paint roller.
Priming the Ceiling
Priming is a necessary step to prepare the ceiling to take the ceiling paint. You should use a stain-blocking primer if your ceiling has any water, smoke, or other stains. If your ceiling is textured, use a high-build primer.
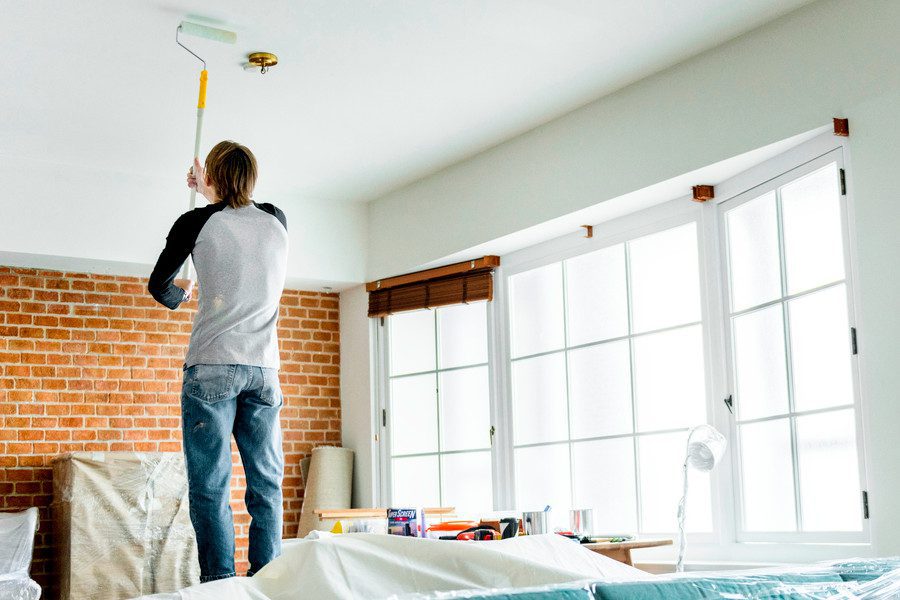
Apply the primer using your roller. Make sure to let the primer dry completely before painting over it.
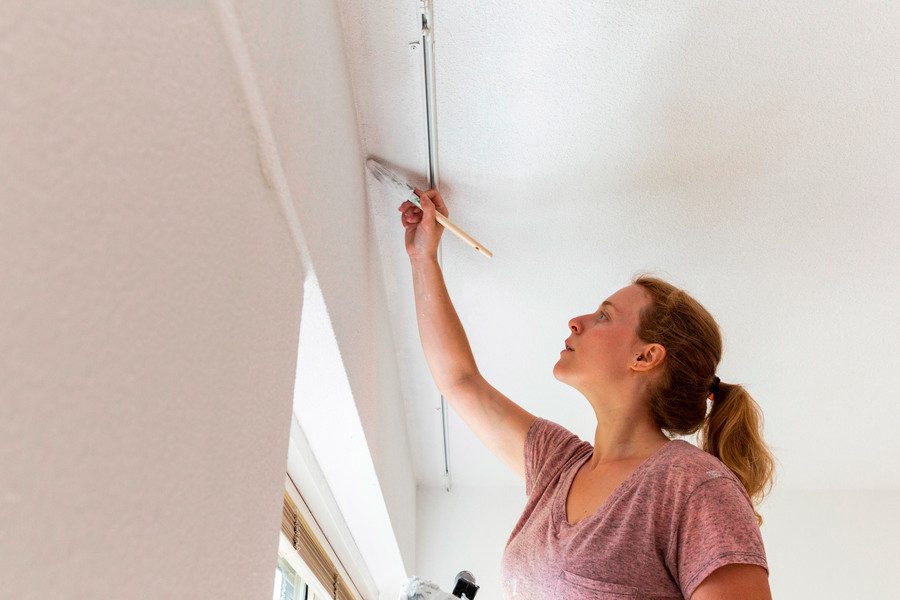
Cut In First
Cutting in means using a paintbrush to paint the edges of the ceiling where it meets the walls. You want to do this first before you start painting with the roller.
Cutting in ensures you get paint in all the corners and edges. When you start by cutting in, you’ll be able to cover the brush marks with your roller afterward.
The best approach is to work in sections, so cut in for roughly ten linear feet. Then roll over that section. That will allow the paint to remain wet while you paint so it all blends together better.
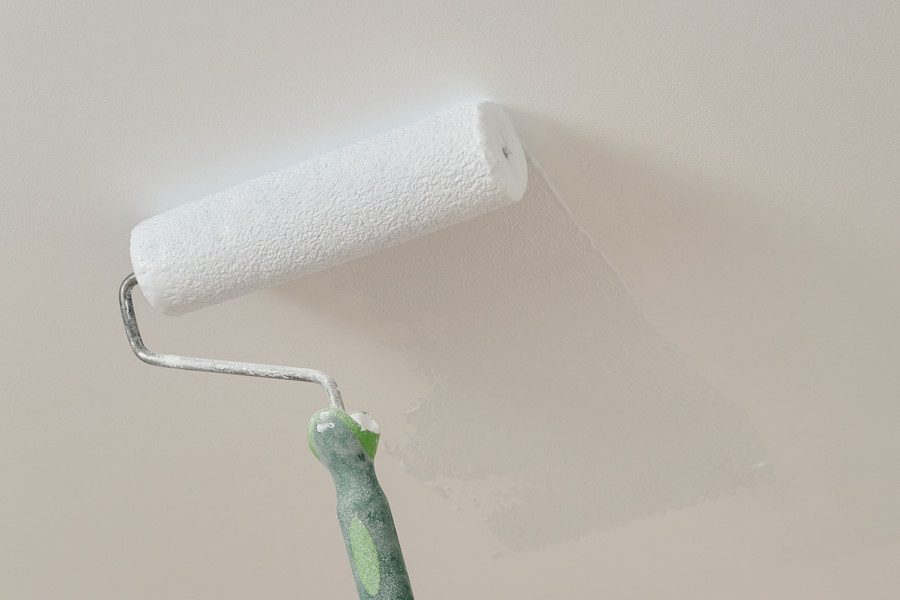
Work in 4-Foot Squares
When you start painting with the roller, try to paint in three to five-inch squares. You can keep better track of your progress and quality of work this way. It’s important to coat the paint evenly to avoid imperfections.
Always remember to overlap your rows so they blend together. It’s also a good idea to roll in a variety of directions so the marks where you overlap aren’t so visible.
If you notice any drips, wipe them up immediately with a damp cloth.
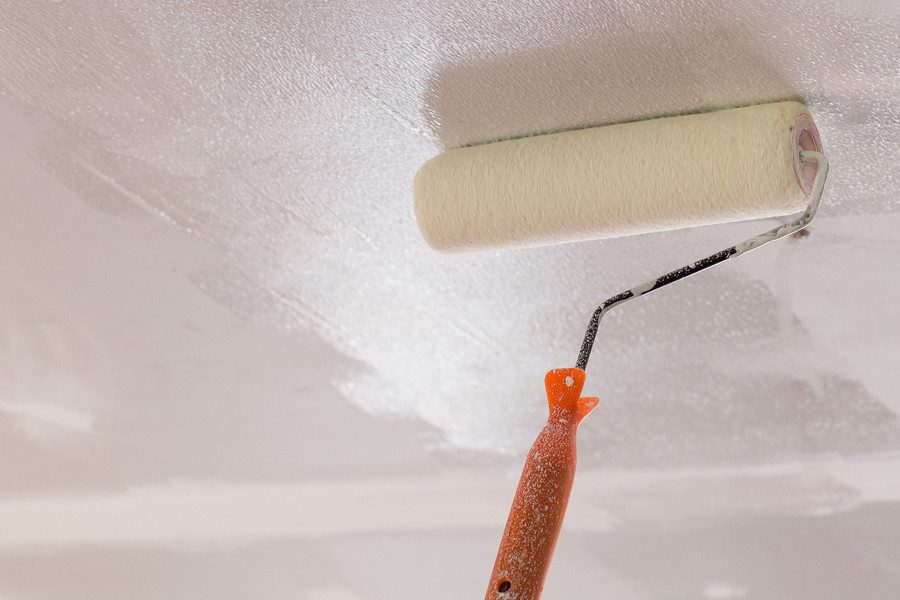
Paint a Second Coat
Tinted paint and bright white paint usually require two coats of paint. If you do opt for a second coat, make sure you give the first coat time to dry first.
It is best to apply the second coat quickly and in a single direction. When the second coat is on, you can start cleaning up your materials. Wait to remove the painter’s tape and reattach ceiling fixtures until the paint is thoroughly dry.
Benefits of Hiring Professional Painters
Although it is fun and affordable to do your own ceiling painting, you will always get a better result when you hire professional painters.
Hiring a professional painter will save you time. Forget the hours of prep and clean up, that’s not your problem when you hire a professional. You can go about your day and in the end have a beautiful ceiling without lifting a finger.
Painters have the skills to provide the perfectly painted ceiling of your dreams. Save yourself the frustration of learning painting techniques and trying to remove drips and imperfections.
Professional painters are insured. This means if any problem comes up or damages occur, it’s covered by the contractors. This can offer significant peace of mind for homeowners.
Everything You Need to Know About Ceiling Painting
Ceiling painting is a simple, affordable way to update a room and add fresh style to your home. It’s possible to paint a ceiling on your own, but you’re better off hiring a professional.
Professional painters are more experienced, more skilled, more efficient, and offer insurance in case anything goes wrong or gets damaged during the painting process.
For the most reliable and affordable home painting services in McKinney and surrounding Collin County areas, contact us today to get your free ceiling painting quote today!

